Once in a Michael’s store, I found $1 notebooks and I bought a bunch. I had visions of covering them with beautiful paper but after a couple of failed attempts in gluing and pressing and dealing with warping which led to more pressing, I dropped the idea and the notebooks just sat. Garish and unused. They don’t look so bad in this shot but I did not photograph the hologram image on the front.
But then, while working away on art this summer, dreaming of sewing again, I thought, hey, a fabric cover would work! And here it is. The look is so much better.
Here’s how to do it:
Measure the book, the height and the width of the cover (width = front width + spine width + back width). My notebooks are 7″ x 11 1/4″.
Add an inch to both measurements. This made my dimensions 8″ x 12 1/4″.
Use them to cut out two pieces of fabric for the inner and outer cover. The fabrics don’t have to be the same. I did lots of mixing and matching in the other covers.
Then cut two pieces for the inner flaps. Use the same height measurement as before but the width is less so, depending on the width of the book. The dimensions of the inner flaps for this notebook ended up at 8″ x 4″.
*Make sure all your fabric has been wash to prevent possible shrinkage. It also helps to iron it too.
Begin with the two inner flap pieces. I wanted a nice finished edge so I used my iron to fold over one edge, about 1/4 inch, and then folded it again, pressing it as I went.
Sew the folds in place.
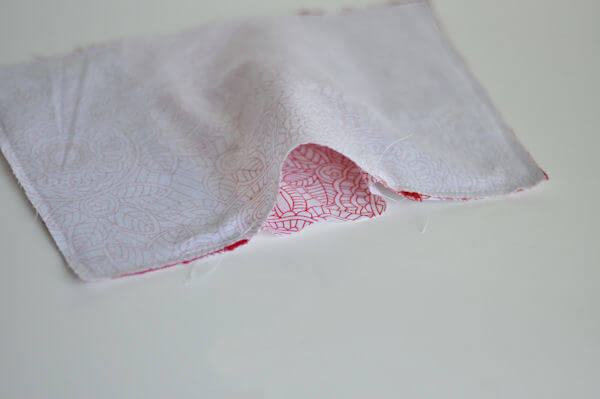
Start the stack by laying down one of the outer pieces, right side up. Add the side flap pieces, like the photo below, again right side up. Add the second outer piece, wrong side up. Then pin the pieces in place.
Sew around the edge, making sure to leave a 3-4 inch opening in order to turn it right side out. I used a 3/8 inch inseam, though I had trimmed the edges before this photo.
Round the corners. I’m not sure this is necessary. I forgot to do it a couple time and the corners still looked fine.
Turn right side out.
Make sure to really get the corners adjusted. Then press with an iron to smooth it out.
To finish, sew the perimeter, right along the edge. It gives it a nice completed look and it closes the gap.
Now, go on and make a bunch. Fun!
Take care.


Super cute! Great for journal covers!
thanks Michelle!
O my word! This has to be the best tutorial I have found for sewing a book cover. I was trying to follow two different ones and had pieces here and there sewing over here and then blah blah blah.. I ended up half way through and remeasuring and cutting the fabrics too short! UGH!! I wish would have found yours earlier. But alas I will try again with your directions! ;)
Thank u soo much!
Kelly
Thank you so much Kelly! Good luck!
Thank you for the easy to follow tutorial. I will be making these today for 3 friends that leave on a mission trip next week. I wanted to make them a cute journal to take and jot down their thoughts!